Understanding the Grind: Your Abrasives 101 & Choosing the Right Grit (What are they? How do they work? What's the difference between a disc and a belt? How do I know which grit to pick for my project?)
Embarking on any serious project, whether it's woodworking, metal fabrication, or even delicate finishing, inevitably brings you face-to-face with abrasives. But what exactly are they, and how do they work their magic? Simply put, abrasives are materials designed to wear away, grind, or polish another surface through friction. They achieve this by having a multitude of tiny, hard particles (the abrasive grains) bonded to a backing material. As these grains come into contact with your workpiece, they effectively cut away microscopic amounts of material, smoothing, shaping, or refining the surface. The backing material, whether it's paper, cloth, or a synthetic, provides stability and allows the abrasive to be used in various forms. Understanding the fundamental mechanics of how these microscopic cuts occur is the first step to mastering your material.
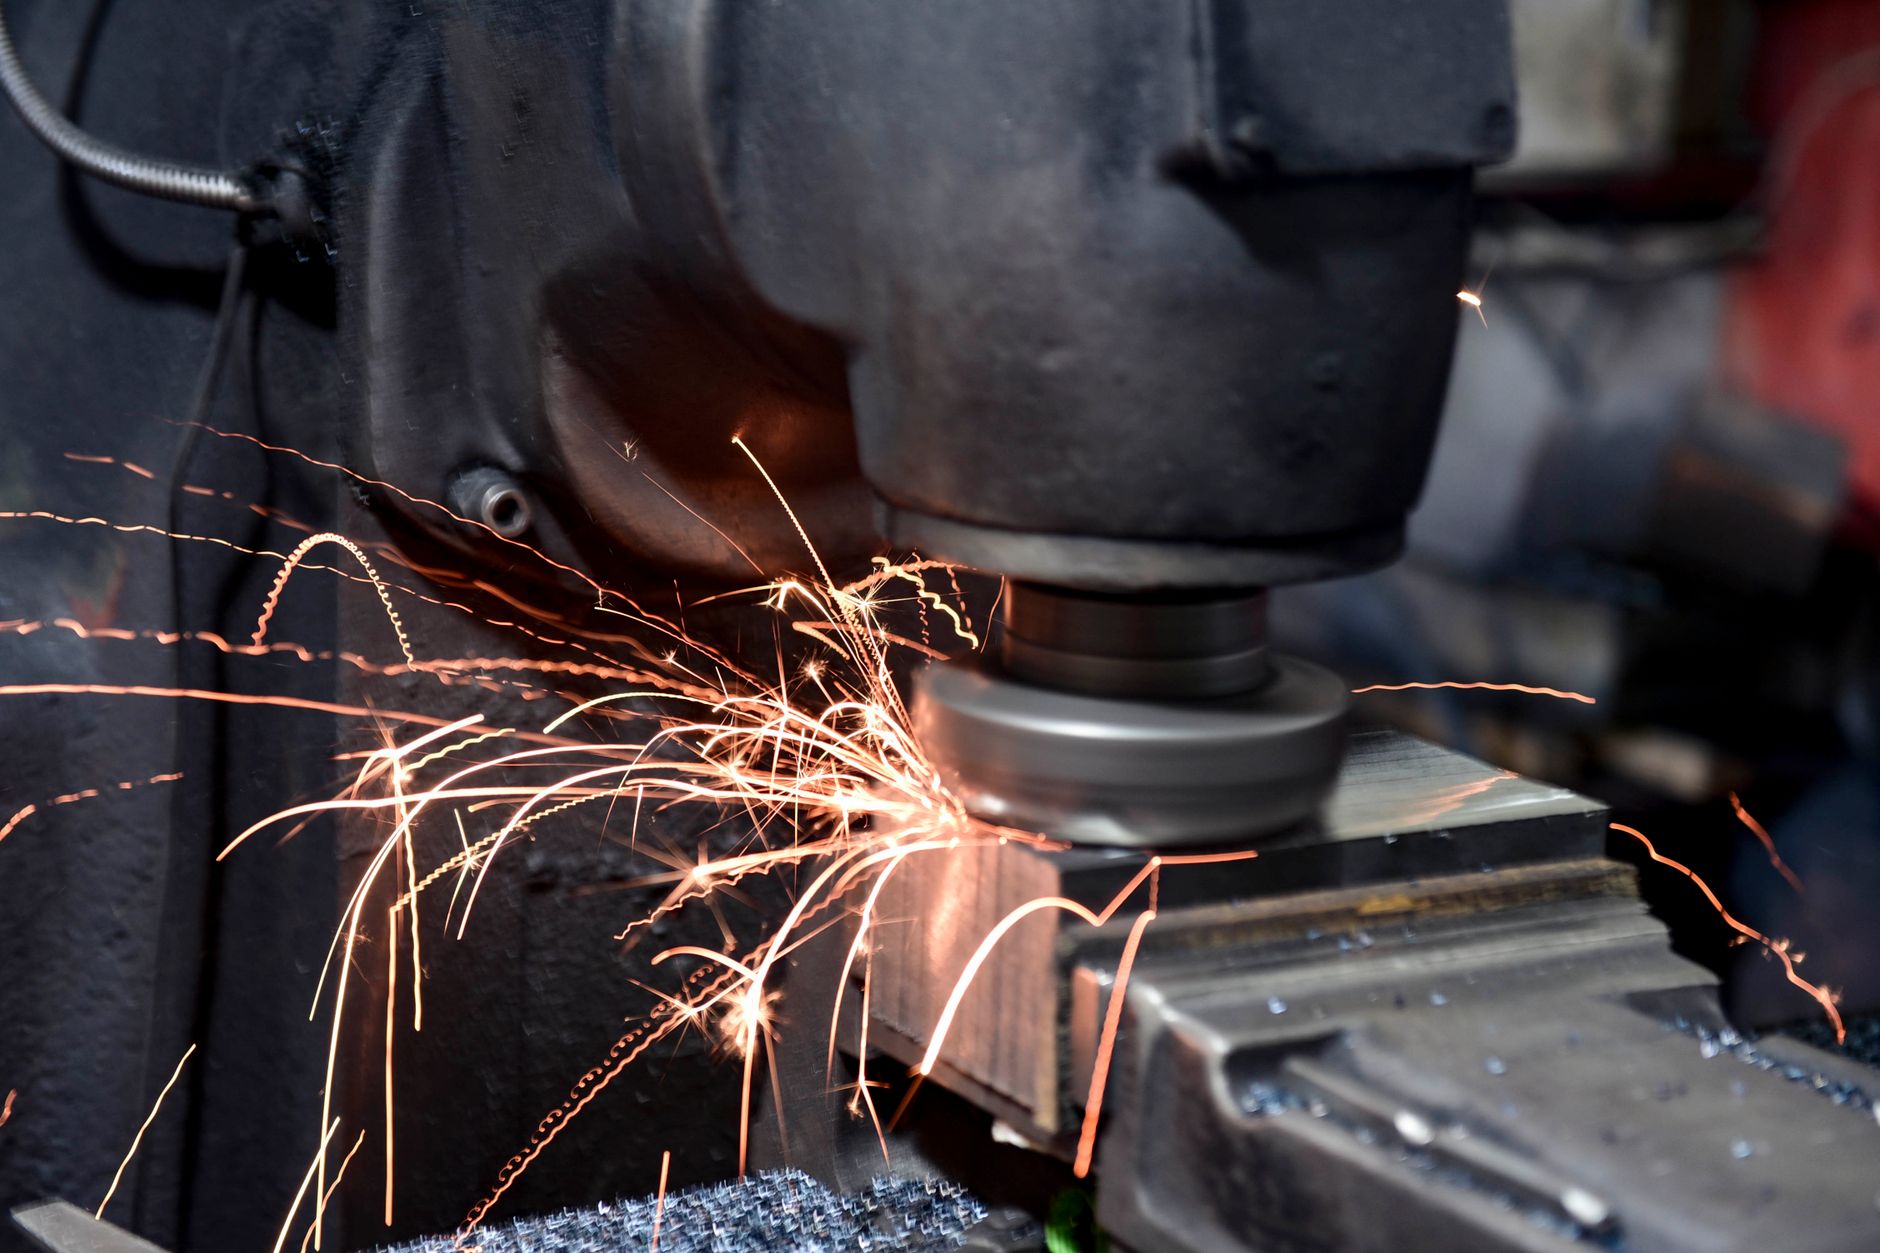
Navigating the world of abrasives also means knowing your tools and making informed choices, especially when it comes to grit and form. For instance, the difference between an abrasive disc and an abrasive belt often comes down to the application and machine. Discs are typically used on rotary tools like angle grinders or random orbital sanders for general sanding, grinding, and polishing, offering versatility in movement. Belts, on the other hand, are designed for belt sanders and provide a continuous, linear abrasive surface, ideal for large flat areas, stock removal, and consistent finishes. Choosing the right grit is perhaps the most crucial decision; it dictates the aggression of the abrasive and the final finish.
Generally, you start with a coarser grit (lower number, e.g., 60-grit) for heavy material removal and progressively move to finer grits (higher number, e.g., 220-grit and beyond) for smoothing and finishing. For projects requiring a truly mirror-like polish, you might even venture into micro-grits. Always consider the material you're working with and the desired outcome when selecting your grit sequence.
Welcome to Abrasive Insights, your premier source for in-depth analysis and the latest trends in the abrasives industry. We provide comprehensive articles, market reports, and expert opinions to help you stay ahead in this dynamic field. Explore our content to gain valuable knowledge and make informed decisions.
Mastering the Finish: Practical Tips for Optimal Abrasive Use & Troubleshooting (Beyond the basics: techniques for achieving different finishes, common mistakes to avoid, extending tool life, and what to do when your sandpaper isn't cutting it anymore.)
Achieving a truly professional finish with abrasives goes far beyond simply choosing the right grit. It involves a nuanced understanding of technique and material interaction. For instance, to achieve a high-gloss polish on wood, you'll need to employ a systematic progression through increasingly finer grits, ensuring each previous scratch pattern is completely removed before moving on. Conversely, for a satin or matte finish on metal, consistent, even pressure and often a final pass with a non-woven abrasive can be more effective than extremely fine sandpaper. One common mistake to avoid is rushing the process; insufficient time spent on initial grits will only lead to more work later. Also, pay close attention to the grain direction when sanding wood, as cross-grain scratches become incredibly difficult to remove. Mastering these subtle differences in application allows for greater control over the final aesthetic, transforming a good finish into an exceptional one.
Troubleshooting abrasive issues and extending tool life are critical for efficiency and cost-effectiveness. When your sandpaper seems to lose its bite prematurely, consider several factors. Is it overheating? Excessive pressure or speed can cause the material to melt or load the abrasive, rendering it ineffective. Are you using the correct abrasive for the material? Different backings and grain types are suited for specific applications. For example, open-coat abrasives are better for softwoods and paints to prevent loading, while closed-coat work well on harder materials. To extend tool life, regular cleaning of your abrasives (e.g., with a rubber cleaning stick for belts and discs) can dislodge embedded particles and restore cutting ability. Don't discard sandpaper too soon; often, a quick clean or a slight adjustment in technique can bring it back to life. However, if the grit itself is dull and no longer sharp, it's time for a replacement to ensure optimal results and prevent unnecessary effort.